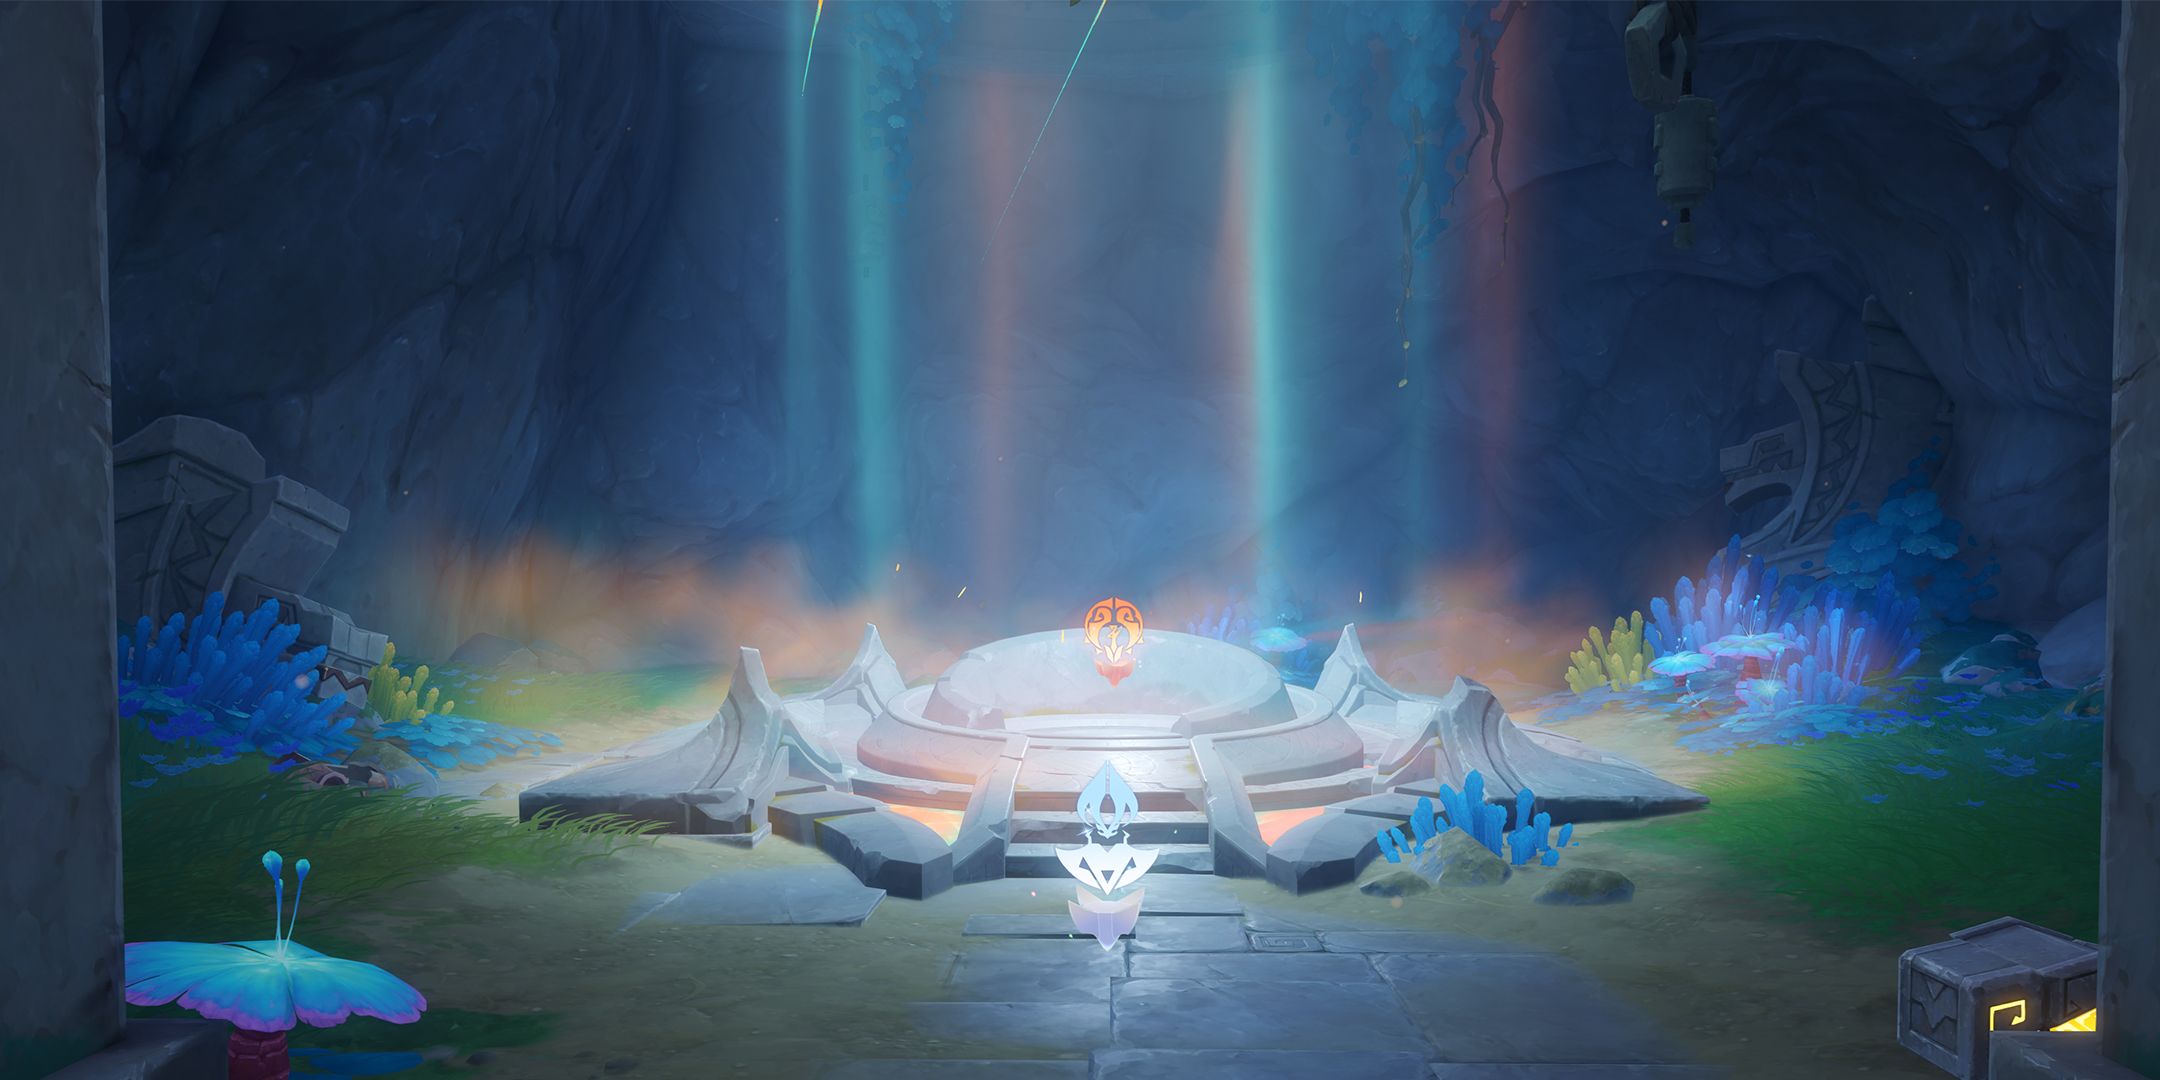
Furnace of Fiery Embers (II) Puzzle Guide & How To Reach It In Genshin Impact
Hey gamers! Ready to dive into the heat of one of Genshin Impact’s latest challenges? The Furnace of Fiery Embers (II) is NOT your average puzzle. If you’re aiming to snag the coveted Flute of Ezpitzal and earn that Embers Rekindled Achievement, you’ll want to pay close attention! This fiery puzzle will test your skills in ways you never imagined!
Let’s kick things off with some lore! The Flamelord’s Blessing bestows incredible power, drawing from the strength of ancient dragons. But beware! This blessing can be more than a mere boon; it can lead to madness or demise for those unprepared to wield such might. Once, the ruler of Cinder City, also known as Ochkanatlan, basked in this dark glory before the city became a shadow of its former self. The heart of this ancient civilization lies in the Furnace of Fiery Embers, and you’re here to uncover its secrets.
Finding the Furnace of Fiery Embers (II)
The challenge of the Furnace of Fiery Embers (II) begins long before you even start the puzzle—it’s tricky to find! Your quest kicks off by teleporting to the northern Ochkanatlan Waypoint. Venture north until you stumble upon a broken tower surrounded by Iktomisaurus creatures. Yeah, it’s time to channel your inner dinosaur!
Transform into one of those Iktomisaurus, and use your unique ability to scan the stone ring above the closed gate. This will activate a descending platform, sending you deep into the fiery depths of the Furnace. Buckle up, because the fun is just beginning!
Furnace of Fiery Embers 2 Puzzle Solution
Once inside, the first thing you’ll notice is the shiny Iridescent Inscription. Approach it, and BAM! It’ll swap places with an Iridescent Beam, closing the gate—that’s where the real challenge begins.
- Transform into Iktomisaurus: You’ll want to hit the yellow crystal located next to the gate to create a stone ring above the Iridescent Beam.
- Scan Quickly! Get your scan in before it detaches—success will open up the gate above the ring, letting you jump inside and disable that pesky Iridescent Beam.
- Ride the Lift: The lift will automatically take you down to the bottom floor, where another Iridescent Inscription awaits. Go for it!
- Bring a Bow User: For the next step, you’ll need a bow user since the yellow crystal will be out of reach. Alternatively, position yourself so the yellow crystal can intercept the beam.
- Scan That Ring Again: Once you connect the stone ring, the platform will rise. Then, using your Iktomisaurus or an Ororon character, climb up to reach the Iridescent Inscription.
- Tackle the Floating Island: Touch the Inscription and voilà! You’ll get teleported to a floating island. Defeat the enemy there and return to the Furnace’s final chamber.
- Unlock the Final Gate: You’ll find the last Iridescent Inscription behind a gated area. Combine both Inscriptions to solve the Furnace of Fiery Embers 2 puzzle in Genshin Impact!
Your Rewards Await!
Congratulations, you’ve completed the Furnace of Fiery Embers (II) puzzle! Get ready to snag some shiny loot including an Exquisite Chest and a Precious Chest. These rewards will help you power up your characters like never before!
Conclusion
So there you have it, adventurers! The Furnace of Fiery Embers (II) in Genshin Impact is just as epic as it sounds. With its thrilling puzzles and fierce rewards, it’s a must-visit for any player wanting to take their game to the next level. Don’t forget to follow @earlyggcom for more tips and tricks, and let’s conquer more challenges together!
